For the 49th Anniversary of "Doctor Who", I made myself a caramel-filled chocolate TARDIS. Here's how I did it. First off you'll need a mold. I already had one that I'd made the previous year, but here's the gist of it: Choose the design of your TARDIS, and lay it out on the computer in layers inversely, print it off, trace the shapes on cardboard, and cut them out. My TARDIS's about 10 or 11 inches high. The mold itself will take several days' time to do, and cutting cardboard is not pretty. At any rate, glue it all together and you should get something like this:
I made a chocolate TARDIS last year for my sister for Christmas, so I'd already made my mold. One of the problems I'd had last year was getting the hardened chocolate out of the mold. On closer inspection, the vertical edges of the mold were ) shaped, which caused the chocolate to crack and resist leaving the mold. To try to fix this, I cut and taped pieces of paper down and around, so that I could smooth out the edges without permanently altering my mold.
Last year I'd lined the mold with plastic wrap; the plastic tore easily and wanted to hug the chocolate more than the mold. This time I used press-n-seal plastic wrap/cling wrap. With the slightly sticky side down, it stayed in the mold where I wanted it.
I used a bone folder (tool pictured below) to work the plastic into the edges and corners, trying to smooth out the wrinkles as best I could, and hoping that any that showed up in the final chocolate would simply look like wood grain. Fingernails or the smooth edge of a plastic ruler or such would substitute well for the bone folder.
For the chocolate I used 14 oz. of Hersey's chocolate, or the equivalent of two giant Hersey's bars. For the caramel I was initially going to use hard caramel squares; however, this proved problematic (more on that later). Instead I used ice cream topping. We didn't have any caramel on hand at the time, since it was a short-notice change, so I used butterscotch instead.

I melted the chocolate in the microwave, then used a carefully cleaned paint brush to paint the entire mold with melted chocolate. Make sure this layer is thick and you can't see the mold through it.

Freeze it.
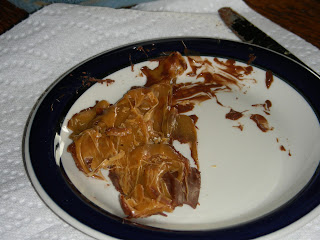
This is what happens when you use hard caramels. After microwaving it to a burned liquid, it hardened rapidly and then turned into a nasty rock, not suitable for pouring or putting in a chocolate bar.
Take the ice cream topper caramel and squirt it into a square in the center of the TARDIS, however much you want in it. Freezing it won't cause the liquid caramel to solidify, so melt the rest of your chocolate and pour it over, bringing the chocolate up to the edge of the mold and smoothing it out. Freeze.
Now it's time to prize the chocolate from the mold. This is tricky, and you need to make sure the chocolate is fully frozen first. I got mine out with a combination of banging, shouting, and prying. I pulled the paper out from the edges of the mold to give the chocolate more wiggle room to work out. The light snapped off the top of mine, and then it cracked horizontally. :-( If you want to, you can melt a bit more chocolate and try to "glue" the pieces back together, or melt some white chocolate and do detail work: write "Police Box" on the top, shade in the light, etc.
It's not the best TARDIS in the world, and a bit battered-looking (the time vortex is a hostile place), but it's full of caramelly goodness. The mold lived to make TARDISes another day!


No comments:
Post a Comment